
Single Chainring Cyclocross
First of all, the additional supplies you'll need. There are two options:
One Guard:
| Dual Guard:
|
You might also need to snag a bottom bracket spacer, which is basically a skinny washer that fits between your bottom bracket shell and your frame. You can find one at your local bike shop. If memory serves, you can also use those thin washers that come with 10spd Shimano cassettes. Best to just ask the bike shop since we're only talking a few bucks here.
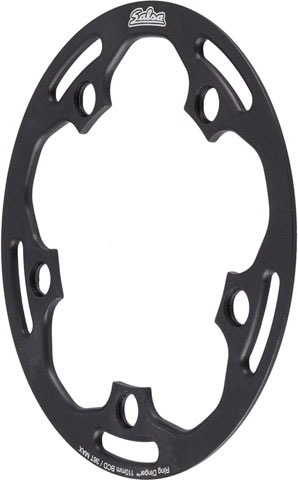 Chainring Guard | 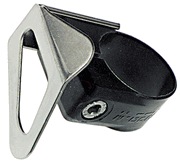 Jump Stop Chain deflector | 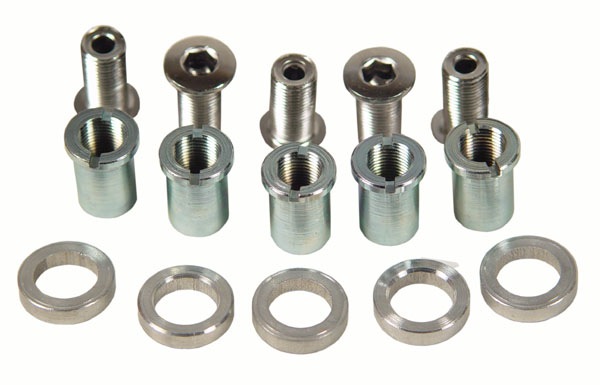 Single ring bolt set |
If you're going to use a single ring, do it for reliability - prevention of dropping your chain. Dual guard is the way to go here, as it keeps the chain on in all those funky situations where they'll come off with a deflector (crash, backwards pedal derailment). It's up to you, but I say dual guards are the way to go.
Chainring guards can be purchased just about anywhere. They come in metal, or carbon fiber. I got metal, because I don't think a carbon guard would hold up all that well when bashed into a log. You can also get an old 46 tooth (or so) chainring and file off the teeth. Not quite as pretty, but it will work!
If you really want to use a single guard setup, just replace your outer chainring with a guard instead, and install the chain deflector. For a dual guard setup, here's how I do it:
Where does the chainring go?
This is the main pain-in-the-arse for single ring setup. Your cranks will have two spots to put your chainring - the inside, or the outside. The spot you use is determined by the best chainline and inner guard/chainstay clearance. Using the inside looks the prettiest, but that doesn't always work. If you're using a single guard, use the inside. For a dual guard setup, the inner guard needs to clear the chainstay. Check it out:
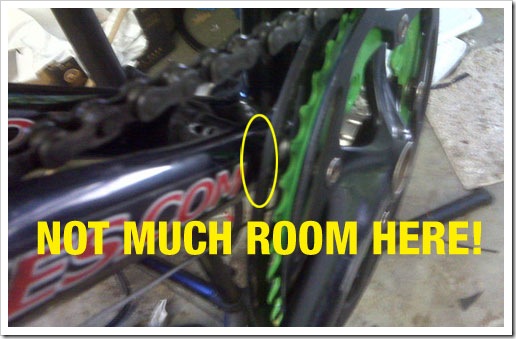
Usually, you can just put the inner guard on the inner spot on your cranks. Sometimes, there won't be enough clearance. You can choose to either get a wider bottom bracket (BB), or stick a 1mm spacer between the BB and the frame to push it out a millimeter or so. This might not work for all cranks, though. Every frame/bottom bracket/crankset combination is different, so you just have to try it out. Back in the days of 9 speed, it worked well to get an XTR octalink BB, which was wider than a road double, but more narrow than a BB designed for a triple chainring (splined road and mountain BBs are otherwise not interchangeable). Cranks using a square taper bottom bracket are great, because there are a TON of BB width options out there to choose from. Long story short - it MIGHT take some tweaking. Might.
So the two chainring spots on your crankset are taken by a guard, and your chainring. To bolt on the second guard, you use the extended single ring bolt set, which contains five spacers for your outer (or inner) chain guard. It's hard to describe, but not difficult to do. I'll illustrate in the photos below.
Here we go...step by step installation of a dual guard setup. So grab your cranks and follow along:
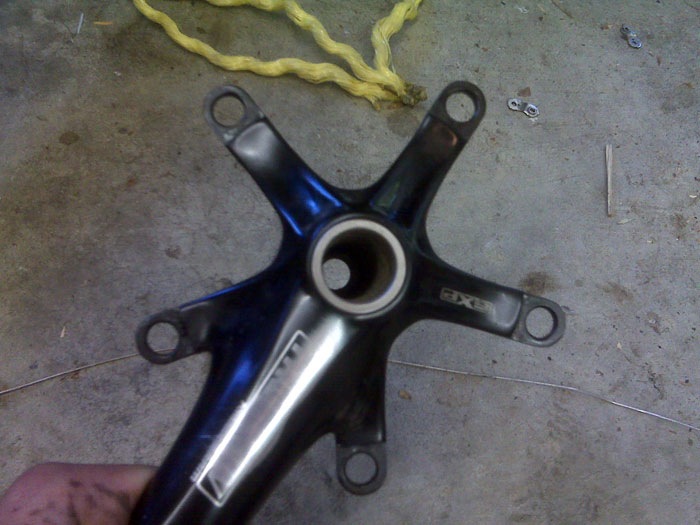
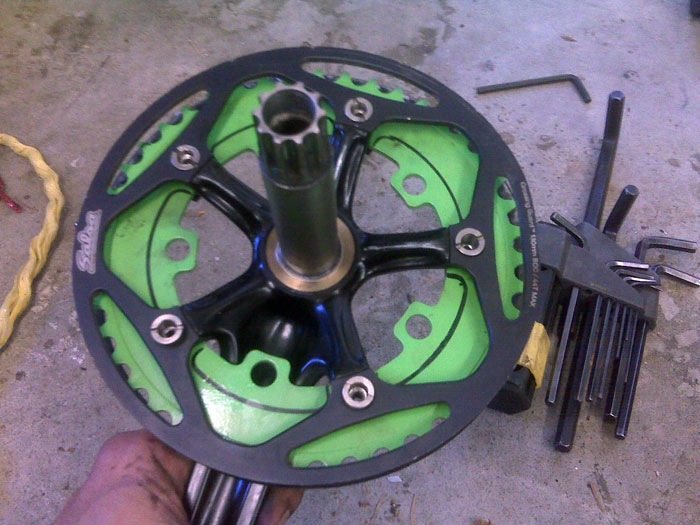
I'm putting my chainring in the outer spot. Yeah, it's a green Pro Neck chainring. So? I've been itching to use it some day...
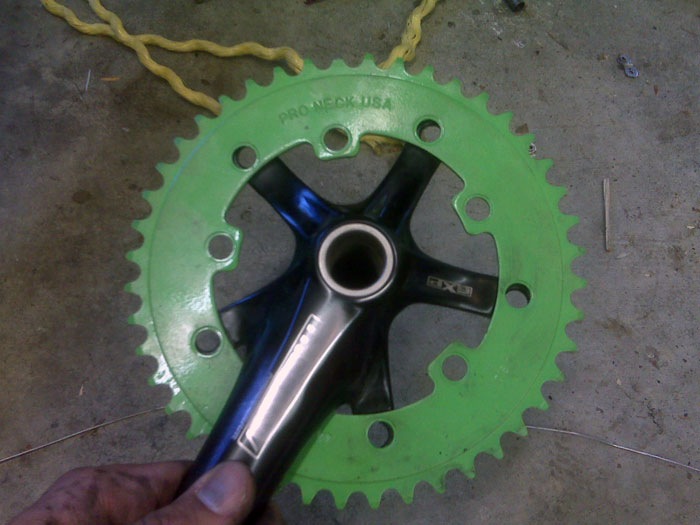
I set those chainring bolt spacers on top of the chainring:
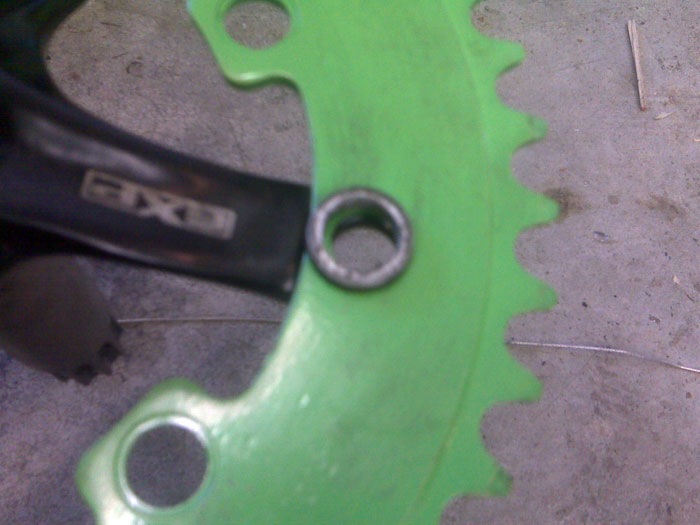
Once you get all five spacers in place, place the guard on top of them, and push the bolts down through the holes to hold everything together:
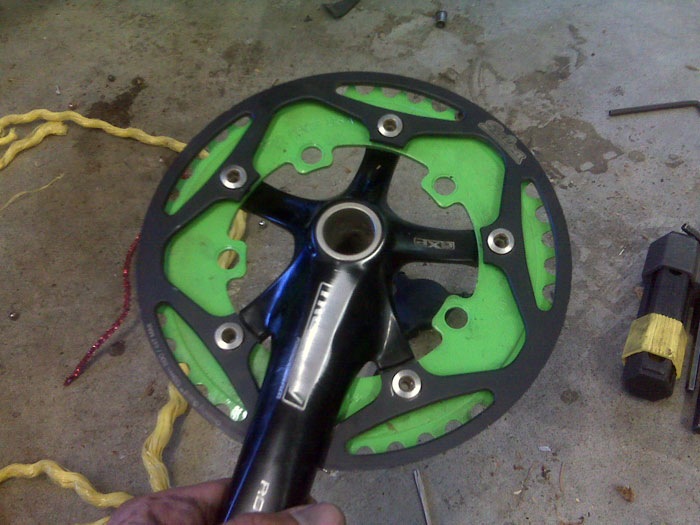
I put the second guard on the inner chainring position, and secured the chainring bolt nuts. This might take a little more patience than you're accustomed to:
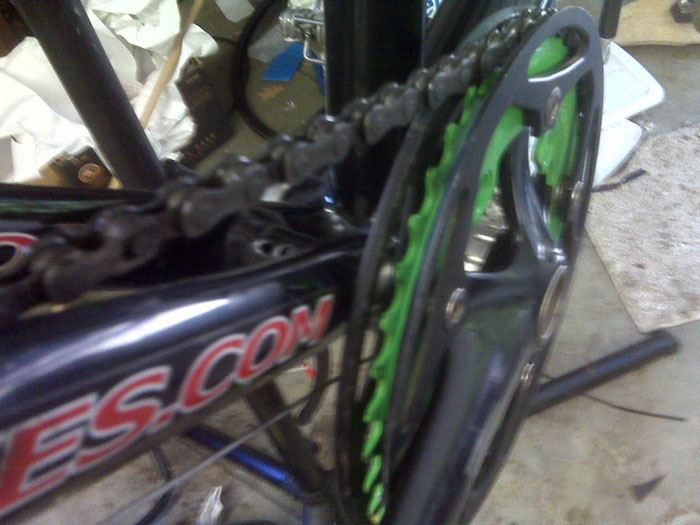
Tighten all the nuts, and you should end up with something like the photo below. Note - this is a 44 tooth chainring, the maximum size for the guards I'm using. I normally use a smaller ring, which sits further inside the guards. It's no big deal if yours does, too. Certainly, make sure your chainring doesn't extend ABOVE the guards. That'd be pretty ineffective.
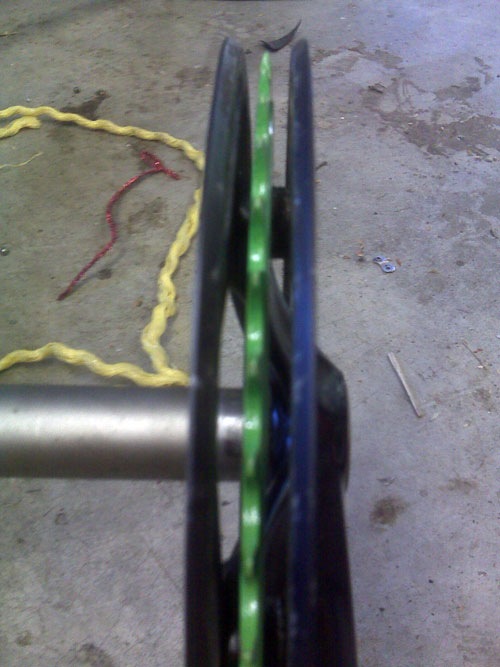
Put the assembly on your bike, and make sure you've got a little clearance with your frame:
The final step - shorten your chain! Set it up so you can shift into your lowest gear (biggest cog), and that's it.
So there you go - now you can set up a single chainring for yourself. Good luck!

So does it metter if the guard has the chamfer or flat edge?
Last year I just left my bigger ring on but at Horning the chain
went on the big ring and I did not realize it for half the race so
for this year I want to go with a guard, suggestions?
The taper is mainly there to prevent chain rub.